-

4. Removing molding. Unless you're doing high end work or the molding was trashed by a dog or moisture, termites, or something else, I usually try to re-use molding. Putting new molding really adds up in terms of $$ spent and time to make the new cuts. Most jobs, I'm on a budget. I find it a challenge to try to get the same result, without sacrificing quality or burning more time, for a few dollars less.
Carefully take it off without cracking it, put it to the side.
-
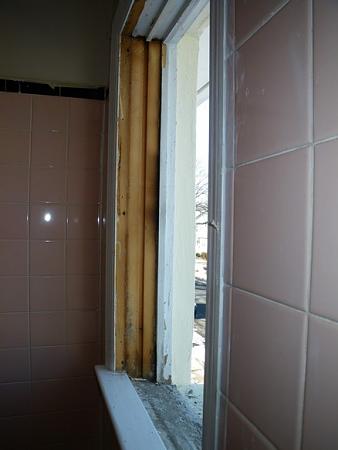
5. Take out the window. I usually do the bottom sash first, then the top (outer) one. Use pry bars and levers where needed, try not to damage the wooden window frame too much.
-
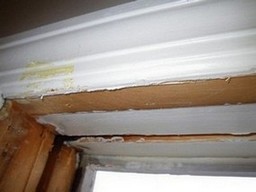
6. Make sure any inside molding or framing is removed. Before you do this, se if you need it as part of the outside frame for the window.
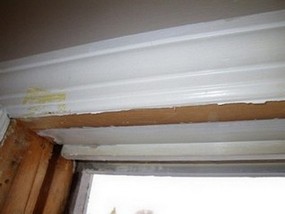
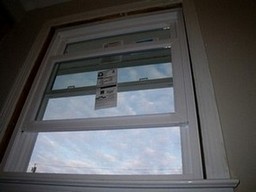
piece removed
-
7. After removing all unnesessary molding and hardware, double check there is nothing left inside the framing to slow down the install.
-
8. Open the window packaging, look at the parts they gave you
(usually tucked in the sash). Take them out, close the window latch, make sure the window is squared up. Now would be a good time to read the enclosed instructions. 
-
9. Install. Place the window in the rough frame, see how it fits. You will have bought some shims ahead of time, or some mason lath to make shims with. Make sure you place the top plastic header and bottom plastic channel on ahead of time, unless you think it might be too tight. At that point, you might have to eliminate or modify them.
Generally, it's better to use all the parts they gave you, with the exception of their hardware. For windows or cabinet installs, I never use the screws they gave me. I use deck screws for their superior strength.
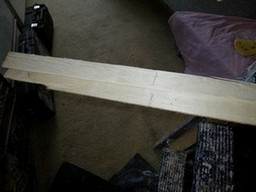
cut your shims
-
10. Install and square out/snug up the window with the bracing screws (Pella and some other windows) and/or the shims. There are usually 4 screw locations per wiindow. With windows or doors, I prefer to work from the top down and square it as I go along, checking the up&down action of the window along the way.
This is where some people screw up. If it's not lever or square here, the window will have problems closing and locking. I've seen too many jobs where 15 seconds more checking would have made the window square, and easy to use. Instead, it makes noise, doesn't latch right, or binds when raising or lowering.
Attention to small details here separates the pros from the amateurs. It's not rocket science, if ya have mechanical ability ya should be able to learn a window install.

 Posting Permissions
- You may not post new threads
- You may not post replies
- You may not post attachments
- You may not edit your posts
-
Forum Rules


 Reply With Quote