-
 Fix it: Installing a replacement window
I'll set this up, load the pics later.
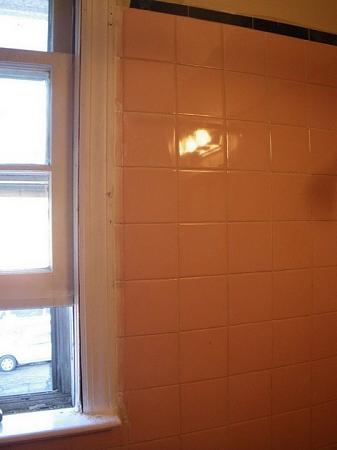
1. Measure your old window carefully. Measure at the biggest distance, and account for extra molding, framing, etc that some older windows might have. You want an accurate measurement of the rough opening, as most windows will be slightly smaller than this when you order them. If your window correponds to something you can get off the shelf, all the better.
When I have a bunch of windows to do, I would rather order them. I can get the custom size I need, quality is better, and I always ask for double latches. It's a lot better to keep the window square and energy efficient that way in the long run.
-
2. Buy/order your window. Plan for the delivery, and add some extra time in there. NEVER plan your job based on the delivery date you're promised, you'll lose all your hair that way. 
")
Most places are good, and deliver before the promised date. More than a few windows, have them deliver to the jobsite. So much easier that way.
-
3. When you're sure you got the correct window, start taking the old window out. For me, it's a lot easier to do them all at once, then you can see how fast you are on each one.  After you do a couple dozen it becomes almost routine.
-
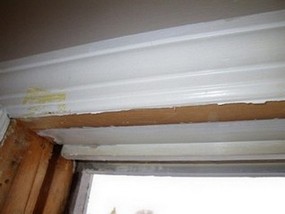
4. Removing molding. Unless you're doing high end work or the molding was trashed by a dog or moisture, termites, or something else, I usually try to re-use molding. Putting new molding really adds up in terms of $$ spent and time to make the new cuts. Most jobs, I'm on a budget. I find it a challenge to try to get the same result, without sacrificing quality or burning more time, for a few dollars less.
Carefully take it off without cracking it, put it to the side.
-
5. Take out the window. I usually do the bottom sash first, then the top (outer) one. Use pry bars and levers where needed, try not to damage the wooden window frame too much.

-
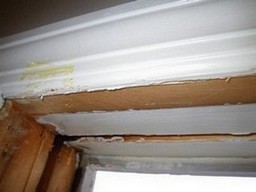
6. Make sure any inside molding or framing is removed. Before you do this, se if you need it as part of the outside frame for the window.
piece removed
 Posting Permissions
- You may not post new threads
- You may not post replies
- You may not post attachments
- You may not edit your posts
-
Forum Rules


 Reply With Quote