-

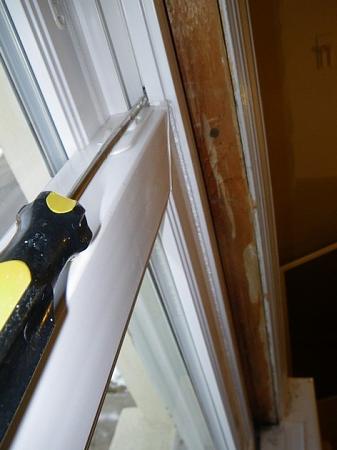
11. After you shimmed it out, and everything is cool, complete the setting of the 4 screws.
Sometimes you will have a pretty large gap on the sides if the measurement is off, or the guy who puinched in your order made a slight mistake. You can and should use fiberglass insulation in these gaps, and should caulk over the end gaps. Caulk is expensive. Sometimes to save on caulk with a huge gap, I'll stuff newspapers in there (sides only). As long as you know moisture won't leak into there (like a shower window), it should be ok and help you get the job done cheaper and quicker.
I use an average of one tube of caulk or less per window, inside, outside, and all the molding gaps. Before I learned this trick I would use 2-3 tubes. That $$ adds up quick when you do 25 windows at a time.
Pellas have a side adjustment screw. Make sure this snugs up to the sides before you put everythiing together, and there is no binding as the window goes up and down.

-

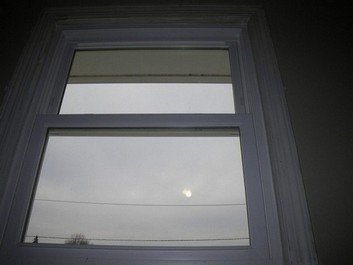
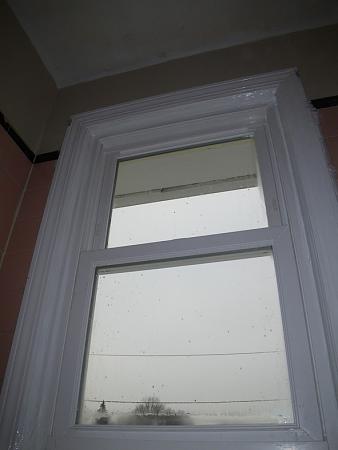
12. Satisfied the opening and the closing on the window is as smooth as it's going to get (progress not perfection, git er done) , put the molding back carefully. If nails are still in it and I don't want them to pop, I place a small block of wood along the molding and hit that with the hammer as the nails go back into the original holes.
Caulk everything, check for air leaks one more time. If you need to re-paint, paint the window when you're doing other moldings to save time and steps.
Step back and look at your work with pride. You just saved yourself around $100 in labor, which is $100 you can put toward that custom reel you had your eye on, or $100 to take your family out for the day. 


If anyone had trouble understanding my instructions, here are the official instructions from Pella:
http://pro.pella.com/pdf/802M0000_IM..._Jmb_Screw.pdf
 Posting Permissions
- You may not post new threads
- You may not post replies
- You may not post attachments
- You may not edit your posts
-
Forum Rules


 Reply With Quote
 , put the molding back carefully. If nails are still in it and I don't want them to pop, I place a small block of wood along the molding and hit that with the hammer as the nails go back into the original holes.
