-
 Fix it: Installing a replacement window
I'll set this up, load the pics later.
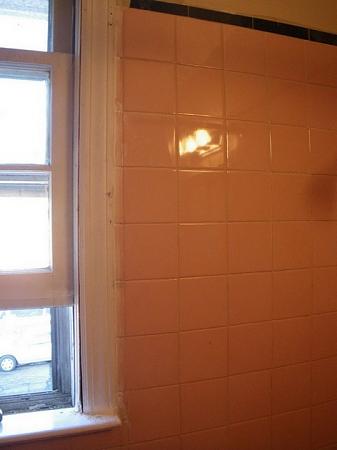
1. Measure your old window carefully. Measure at the biggest distance, and account for extra molding, framing, etc that some older windows might have. You want an accurate measurement of the rough opening, as most windows will be slightly smaller than this when you order them. If your window correponds to something you can get off the shelf, all the better.
When I have a bunch of windows to do, I would rather order them. I can get the custom size I need, quality is better, and I always ask for double latches. It's a lot better to keep the window square and energy efficient that way in the long run.
-
2. Buy/order your window. Plan for the delivery, and add some extra time in there. NEVER plan your job based on the delivery date you're promised, you'll lose all your hair that way. 
")
Most places are good, and deliver before the promised date. More than a few windows, have them deliver to the jobsite. So much easier that way.
-
3. When you're sure you got the correct window, start taking the old window out. For me, it's a lot easier to do them all at once, then you can see how fast you are on each one.  After you do a couple dozen it becomes almost routine.
-
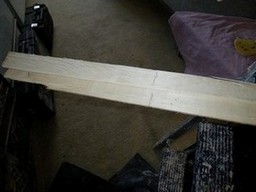
4. Removing molding. Unless you're doing high end work or the molding was trashed by a dog or moisture, termites, or something else, I usually try to re-use molding. Putting new molding really adds up in terms of $$ spent and time to make the new cuts. Most jobs, I'm on a budget. I find it a challenge to try to get the same result, without sacrificing quality or burning more time, for a few dollars less.
Carefully take it off without cracking it, put it to the side.
-
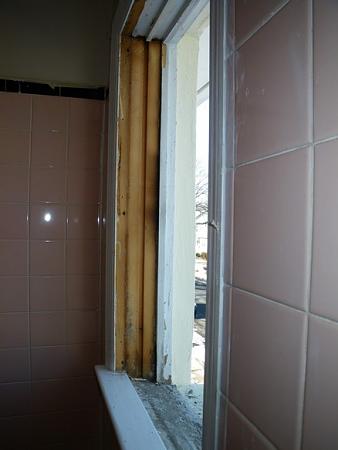
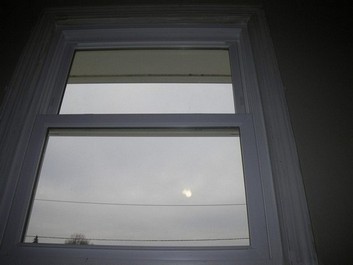
5. Take out the window. I usually do the bottom sash first, then the top (outer) one. Use pry bars and levers where needed, try not to damage the wooden window frame too much.
-
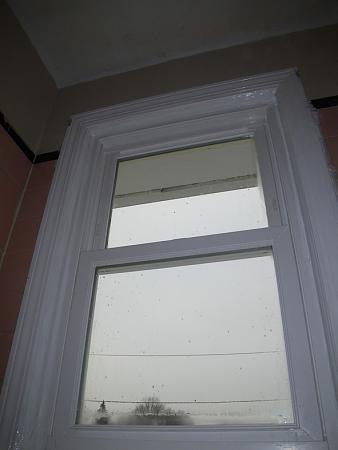
6. Make sure any inside molding or framing is removed. Before you do this, se if you need it as part of the outside frame for the window.
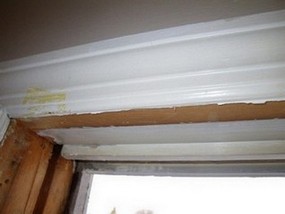
piece removed
-
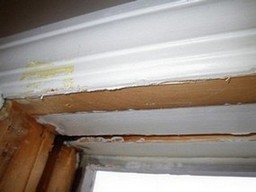
7. After removing all unnesessary molding and hardware, double check there is nothing left inside the framing to slow down the install.
-
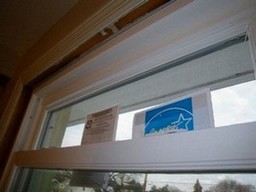
8. Open the window packaging, look at the parts they gave you
(usually tucked in the sash). Take them out, close the window latch, make sure the window is squared up. Now would be a good time to read the enclosed instructions.
-
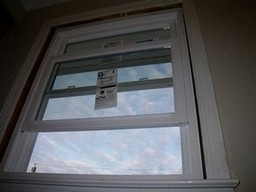
9. Install. Place the window in the rough frame, see how it fits. You will have bought some shims ahead of time, or some mason lath to make shims with. Make sure you place the top plastic header and bottom plastic channel on ahead of time, unless you think it might be too tight. At that point, you might have to eliminate or modify them.
Generally, it's better to use all the parts they gave you, with the exception of their hardware. For windows or cabinet installs, I never use the screws they gave me. I use deck screws for their superior strength.
cut your shims
-
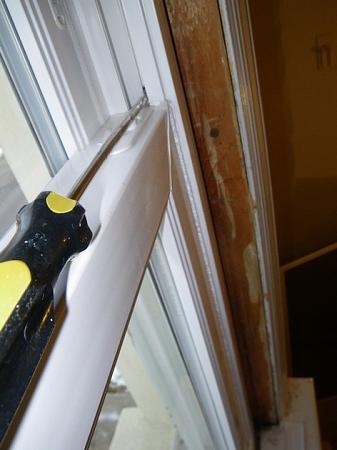
10. Install and square out/snug up the window with the bracing screws (Pella and some other windows) and/or the shims. There are usually 4 screw locations per wiindow. With windows or doors, I prefer to work from the top down and square it as I go along, checking the up&down action of the window along the way.
This is where some people screw up. If it's not lever or square here, the window will have problems closing and locking. I've seen too many jobs where 15 seconds more checking would have made the window square, and easy to use. Instead, it makes noise, doesn't latch right, or binds when raising or lowering.
Attention to small details here separates the pros from the amateurs. It's not rocket science, if ya have mechanical ability ya should be able to learn a window install.
-
11. After you shimmed it out, and everything is cool, complete the setting of the 4 screws.
Sometimes you will have a pretty large gap on the sides if the measurement is off, or the guy who puinched in your order made a slight mistake. You can and should use fiberglass insulation in these gaps, and should caulk over the end gaps. Caulk is expensive. Sometimes to save on caulk with a huge gap, I'll stuff newspapers in there (sides only). As long as you know moisture won't leak into there (like a shower window), it should be ok and help you get the job done cheaper and quicker.
I use an average of one tube of caulk or less per window, inside, outside, and all the molding gaps. Before I learned this trick I would use 2-3 tubes. That $$ adds up quick when you do 25 windows at a time.
Pellas have a side adjustment screw. Make sure this snugs up to the sides before you put everythiing together, and there is no binding as the window goes up and down.
-
12. Satisfied the opening and the closing on the window is as smooth as it's going to get (progress not perfection, git er done), put the molding back carefully. If nails are still in it and I don't want them to pop, I place a small block of wood along the molding and hit that with the hammer as the nails go back into the original holes.
Caulk everything, check for air leaks one more time. If you need to re-paint, paint the window when you're doing other moldings to save time and steps.
Step back and look at your work with pride. You just saved yourself around $100 in labor, which is $100 you can put toward that custom reel you had your eye on, or $100 to take your family out for the day. 
If anyone had trouble understanding my instructions, here are the official instructions from Pella:
http://pro.pella.com/pdf/802M0000_IM..._Jmb_Screw.pdf
 Posting Permissions
- You may not post new threads
- You may not post replies
- You may not post attachments
- You may not edit your posts
-
Forum Rules


 Reply With Quote