-
 Fix it: installing a tile floor
Tile installs are expensive, because a good tile man is worth his weight in gold. There's a guy out there who is a master tile guy. He does the most amazing tile work, catches large, and never brags about it. He taught me a lot about fishin, but for some reason he don't wanna know me anymore. Hey, man if I did somethin to ya personally, I'm sorry, but I do appreciate all the times you took to teach me stuff.  Tight lines.
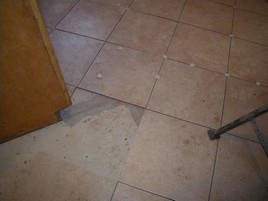
Back to the tile talk, pics to follow.
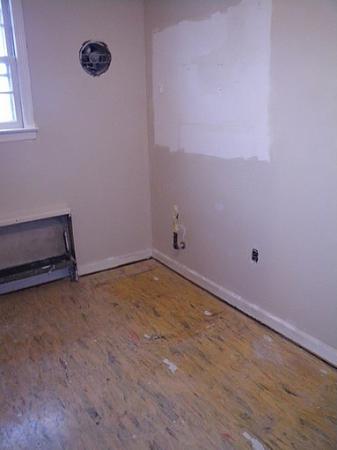
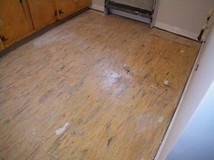
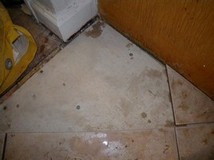
1. Prepare your floor. No flex, no flex, no flex! Good prep work is the most important part of any job, don't skimp here. This job will assume you're laying over a plywood base. If there is substantial flex to that base, any old or rotted wood, you may need to replace or sister up/place some cripples underneath the floor, if you have access.
For the most part, this won't happen. You'll run into this mostly in bathrooms that have had water damage for a long time and may have soft areas. One bathroom I had to rip up half the floor by the tub area, sister some 2x6s to the joists because the whole corner of the room sunk a bit, lay new plywood, and then start with the cement board. But that was an extreme case.
If ye got squeaks, now's the time to fixem. Figure out where the joists are, and sink screws into them at varied spots until the squeaks are gone. Sometimes 10 well-placed screws will do the job, sometimes more.
-
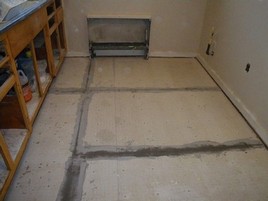
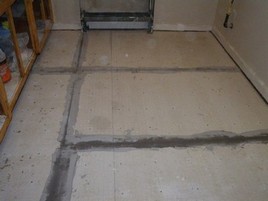
2. Install your cement board. I like hardibacker, easy to follow the marks, though they bang you on those special screws. Make sure the screw heads are slightly under the surface or flush, no ridges.
-
3. Lay down your seam tape and underlayment patch. Someone asked me if it's important to use underlayment patch, why not use mortar mix? The way I was taught was to use underlayment patch and let it set for a couple hours, it's a little more elastic and less subject to cracking. At times in a hurry I have also used the mortar mix with no ill effects to patch the seams.
-
4. Mark the center line of the room. I ususally just run a line down the center of the longest side, and use that line as a guide.
Decide what pattern you want. I keep it simple, but my signature is a diamond pattern. Now everyone's doing it, so it's not so unique. However, I like the psychological affect it gives by making the room look different. Compare a room of straight square tiles to one where they were laid diagonally. To me, the diagonal pattern looks best every time. 
Pre-cut and lay your tiles with spacers. Give yourself enough room at the sides in case you need to shift things a bit with the final job. Decide what spacers you want. The trend is bigger spacers nowadays (3/8 - 1/2" for floor tiles). That helps if your lines aren't perfect, but I like them a little on the small side. To me, it looks cleaner and tighter.
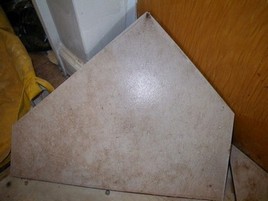
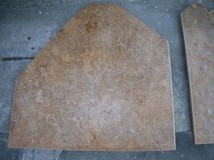
diamond pattern requires a little more skill making cuts

-
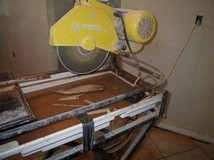
5. Use a good tile saw.The bigger your tiles are, the better your machine should be. Those $80 specials are good when you do one floor, terrible when you start doing larger SF areas and need to get the job done. I used to use 12" tile a lot. Now 16" is the popular size, unless you're talking about a small SF bathroom. Replace the blade when it gets dull, constant water flow helps blade to last longer.
-
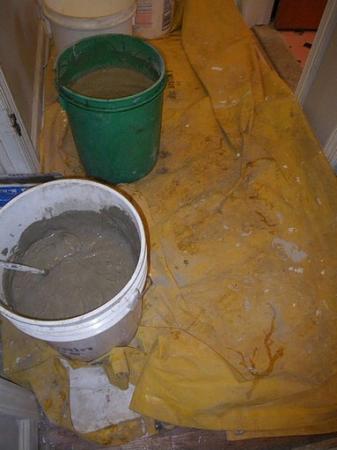
6. Once you're happy with the floor setup, mix your mortar mix thoroughly, no lumps or dry spots. I use a universal mixer, attached ot my Dewalt drill. Always add mix to the water, don't use too much water at a time. If it's too runny it won't set up right, follow instructions.
Use a poly or fortified mix for high traffic areas, bathrooms, and hallways. You might want to use a harder grade of tile, such as porcelain, for hallways or landings too.
 Posting Permissions
- You may not post new threads
- You may not post replies
- You may not post attachments
- You may not edit your posts
-
Forum Rules


 Reply With Quote