-

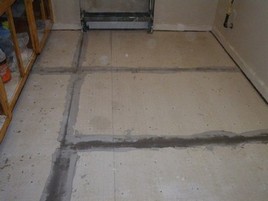
3. Lay down your seam tape and underlayment patch. Someone asked me if it's important to use underlayment patch, why not use mortar mix? The way I was taught was to use underlayment patch and let it set for a couple hours, it's a little more elastic and less subject to cracking. At times in a hurry I have also used the mortar mix with no ill effects to patch the seams.
-
4. Mark the center line of the room. I ususally just run a line down the center of the longest side, and use that line as a guide.
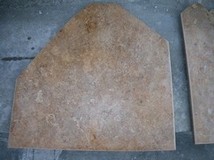
Decide what pattern you want. I keep it simple, but my signature is a diamond pattern. Now everyone's doing it, so it's not so unique. However, I like the psychological affect it gives by making the room look different. Compare a room of straight square tiles to one where they were laid diagonally. To me, the diagonal pattern looks best every time. 
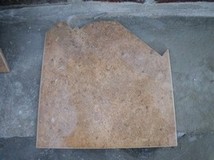
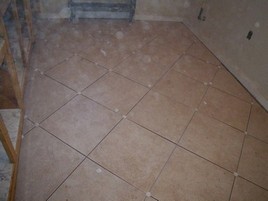
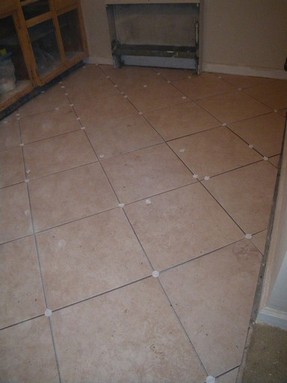
Pre-cut and lay your tiles with spacers. Give yourself enough room at the sides in case you need to shift things a bit with the final job. Decide what spacers you want. The trend is bigger spacers nowadays (3/8 - 1/2" for floor tiles). That helps if your lines aren't perfect, but I like them a little on the small side. To me, it looks cleaner and tighter.
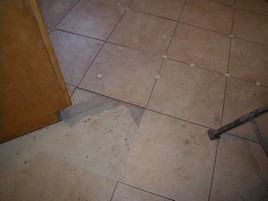
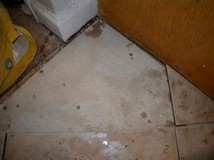
diamond pattern requires a little more skill making cuts
-
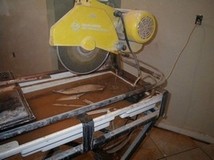
5. Use a good tile saw.The bigger your tiles are, the better your machine should be. Those $80 specials are good when you do one floor, terrible when you start doing larger SF areas and need to get the job done. I used to use 12" tile a lot. Now 16" is the popular size, unless you're talking about a small SF bathroom. Replace the blade when it gets dull, constant water flow helps blade to last longer.
-
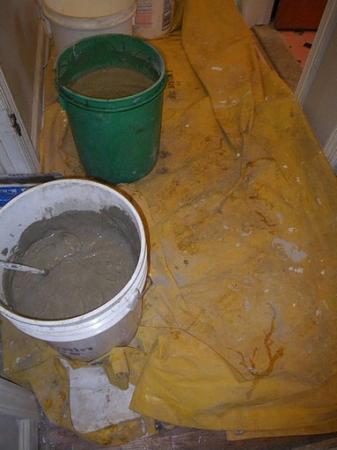
6. Once you're happy with the floor setup, mix your mortar mix thoroughly, no lumps or dry spots. I use a universal mixer, attached ot my Dewalt drill. Always add mix to the water, don't use too much water at a time. If it's too runny it won't set up right, follow instructions.
Use a poly or fortified mix for high traffic areas, bathrooms, and hallways. You might want to use a harder grade of tile, such as porcelain, for hallways or landings too.
-
7. Spread it out using a trowel with the right sized notches, bigger ones for floor tiles, smaller notches for wall and smaller tiles. If it's real humid or hot out, I throw some water on the hardibacker first.
-
8. Start in the furthest area and work your way so you have an exit, kinda like when you paint a floor.  go over all work after you lay it down. Make sure all spacers are set up correctly, and re-check all lines for straightness as the mortar mix sets up.
Remove any excess mortar mix from the lines between, you will be putting grout here.
I usually like to set up the mortar mix towards the end of the day, double check everything, leave the job, and come back the next morning to check and grout.
-
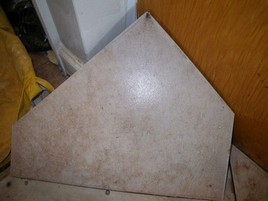
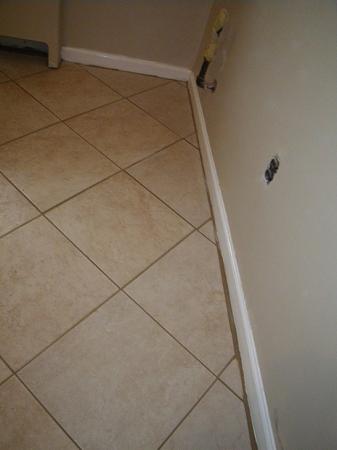
9. Grout - I like darker colors to hide the dirt, currently using sandstone for most floor installs, and kitchen tile backsplash jobs. Mix the grout like you did the mortar mix, no lumps, allow it some time to set.
Then apply using a rubber squeegee trowel, running the rubber edges along the tile to remove the excess. Don't make your grout too watery or it may crack as it sets up and the water evaporates. Good consistency is where you can move it through your hands like play dough, but is doesn't "drip" through your fingers.
after grout
 Posting Permissions
- You may not post new threads
- You may not post replies
- You may not post attachments
- You may not edit your posts
-
Forum Rules


 Reply With Quote