-

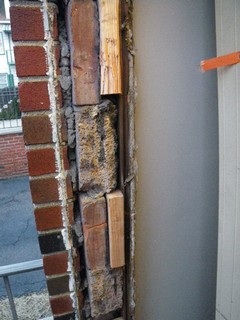
Look at the rough opening you now have, and decide how you will brace and shim out the door so that it stays sturdy over time.
In the installation in the pics, it was a bit of a challenge because it's a brick front. Uusually there's some existing framing you can secure to. In this case, there was only minimal wood.
If I had time, I would have taken my ramset nailgun and shot a series of furring strips onto the side opening to make everything nice and neat. However, in this case, the block work was uneven, and we only had a few hours in rapidly freezing weather to get it done. This was a high traffic door, had to move quickly so people could get in and out.
My solution in this case was to figure out where the door frame would have too much gap btween the bricks, and then cut pieces of 2x4 to shim up just to that point. So, when I installed the door, the sides of the door frame would just clear the 2x4 braces I put all around.
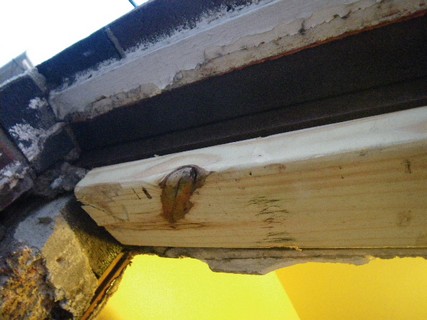
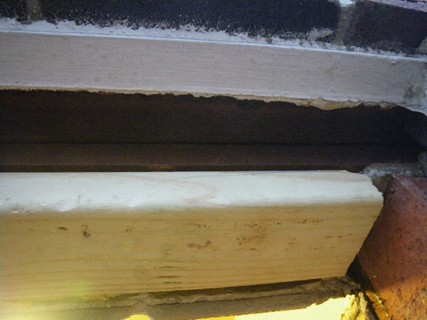
I also had a challenge with the top, there was angle iron across it and no visible wood to anchor my top 2x4 into. I cut it to size, jammed it in so it was a tight fit, and anchored with deck screws into some still existing framing on the side. That's why it pays to be handy with using your screw gun to get screws in at weird angles, and to have a steady hand.
(Once the door is in, you can shim it further.) My point is that if there is too much of a gap, this could cause problems in the long run. I don't want any problems in the long run. Once I'm done with a project, I don't want to have to come back.
the top piece I put in
 Posting Permissions
- You may not post new threads
- You may not post replies
- You may not post attachments
- You may not edit your posts
-
Forum Rules


 Reply With Quote