-
 Fix it: Installing a new entry door
Thought I would put it out there for someone who might need to do this one day. It's not hard to install a door. The biggest part of this and any other job is to plan it well, get all materials ahaed of time, & make an effort to be precise on the finishing work, & details. Otherwise it looks like crap.
Remove all trim molding, carefully, if you'll be using it again.

-
Remove the door from the hinges. Remove any screendoors or hardware. Carefully cut the frame out using a gorilla prybar or sawzall, whichever will do less damage. I usually make several cuts to make it easier.
As you are taking the frame out, pay attention to all electronic and doorbell hardware and wiring, and think of your options for the re-install.
Put everything you will use later in a safe place away from the work area so it doesn't get accidentally tossed.
-
Look at the rough opening you now have, and decide how you will brace and shim out the door so that it stays sturdy over time.
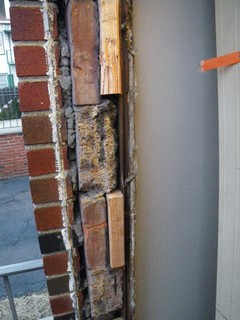
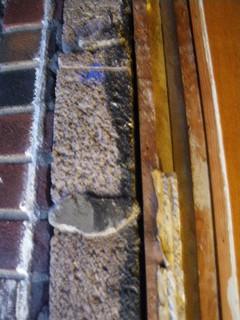
In the installation in the pics, it was a bit of a challenge because it's a brick front. Uusually there's some existing framing you can secure to. In this case, there was only minimal wood.
If I had time, I would have taken my ramset nailgun and shot a series of furring strips onto the side opening to make everything nice and neat. However, in this case, the block work was uneven, and we only had a few hours in rapidly freezing weather to get it done. This was a high traffic door, had to move quickly so people could get in and out.
My solution in this case was to figure out where the door frame would have too much gap btween the bricks, and then cut pieces of 2x4 to shim up just to that point. So, when I installed the door, the sides of the door frame would just clear the 2x4 braces I put all around.
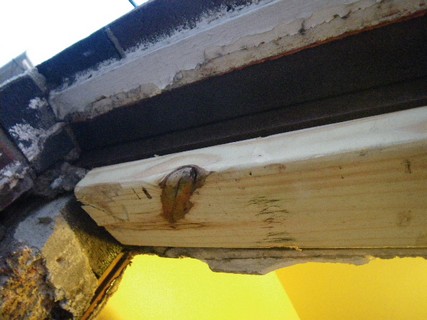
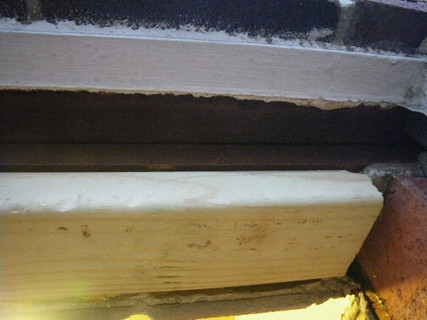
I also had a challenge with the top, there was angle iron across it and no visible wood to anchor my top 2x4 into. I cut it to size, jammed it in so it was a tight fit, and anchored with deck screws into some still existing framing on the side. That's why it pays to be handy with using your screw gun to get screws in at weird angles, and to have a steady hand.
(Once the door is in, you can shim it further.) My point is that if there is too much of a gap, this could cause problems in the long run. I don't want any problems in the long run. Once I'm done with a project, I don't want to have to come back.
the top piece I put in
-
Sometimes you have wood you can anchor into, sometimes not. 
Then once everything is prepared, gently fit and position the door. I always start with the hinge side, and put just one deck screw in at each side to make sure it's level and squar with the opening.
The most important side to me to level and square correctly is the hinge side. If you have done that, everything else will be easier.
When people have problems with an install, you can sometimes trace it back to the beginning steps. Take your time, and don't screw the screws in too tight or bow the door frame in any way. Make sure your door opens and close smoothly before you proceed any further. You may have to make some minor adjustments if the house has settled over the years.
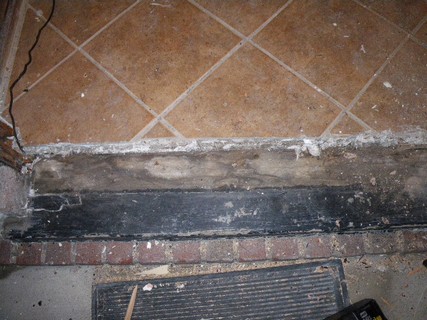
You may also have to adjust the threshhold, as I had to do here. You can't see it, but it was uneven, I had to take it out and brace it so the door wuld fit properly, put it back with caulk and liquid nails.
If the threshhold is bad or shows weakness from either too much moisture or any termite damage, now would be the time to replace it. It will take a lot of abuse as people walk in and out of a house, and move their stuff around. You only want to fix it once. 
-
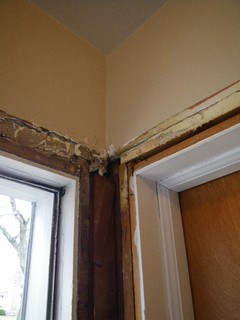
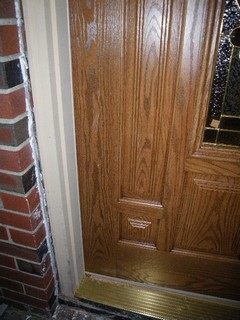
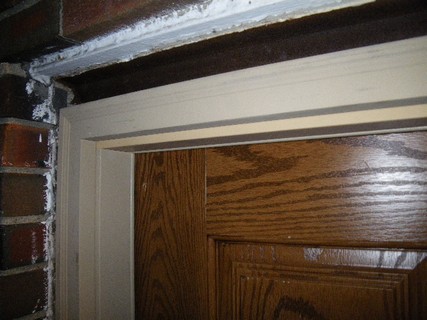
Door in the frame
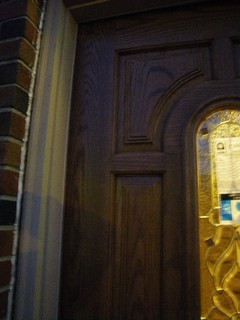
there's a piece of molding that still has to be installed at the top
-
Finishing work: No you're not done yet!  Ya gotta set more deck screws into the framing, make sure you use a countersink on the screw holes if ya want to get fancy and have things look nice, fill the holes once completed with plastic wood, finish shimming all the side or top spots that need shims, make sure the locksets you installed open and close perfectly without binding, and make sure all the doorbell or electronics you re-installed works ok and is tucked out of sight in a good place.
Fabricate any additional pieces of molding needed if the gaps are significantly different in the framing of the new door.
Then insulate all big gaps with insulation, caulk where necesssary, slap your molding back on, make sure it looks neat, paint where necessary.
Step back and look at your work.
 Posting Permissions
- You may not post new threads
- You may not post replies
- You may not post attachments
- You may not edit your posts
-
Forum Rules


 Reply With Quote